We continue after the installation of XPEnology with the first steps and preparation of docker to install the necessary containers for our complete multimedia NAS.
The first thing we are going to do is to add a volume to DSM to be able to install applications, create folders and save our files. It goes without saying that there must be at least one hard drive connected to the machine. In our usual browser we open the address of our server. This address is given when we do the installation and we go to find.synology.com.
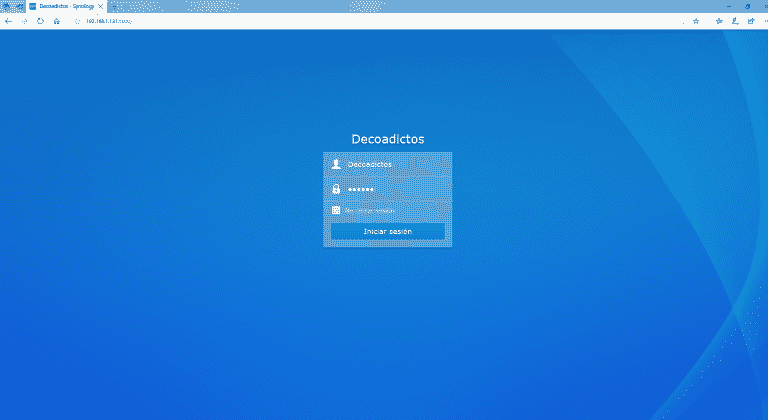
In my case, this address is 192.168.1.131 and it is the one we will use in this tutorial.
We open the browser, type the ip address of the NAS and we will get the login window. Fill in the data created in the installation.
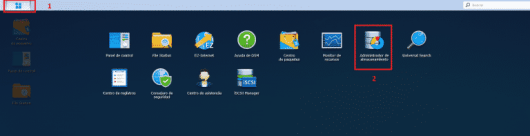
Once inside, click on the “start” button in the top left corner, which is very similar to the Windows button, and click on “storage manager”.
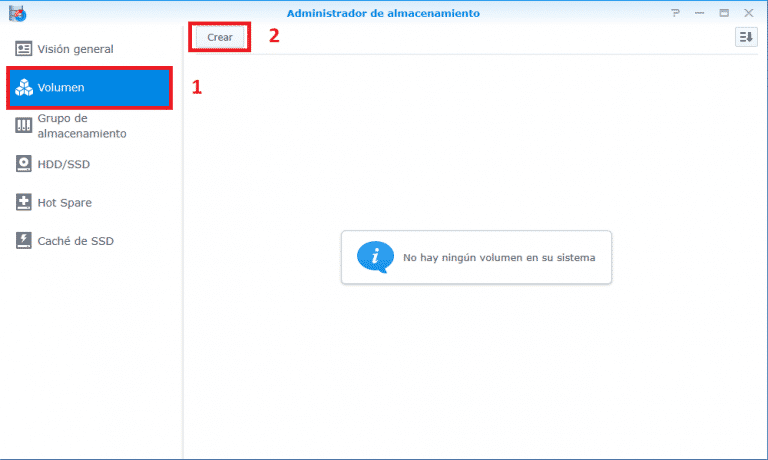
Once opened, click on “volume” and click on “create”.
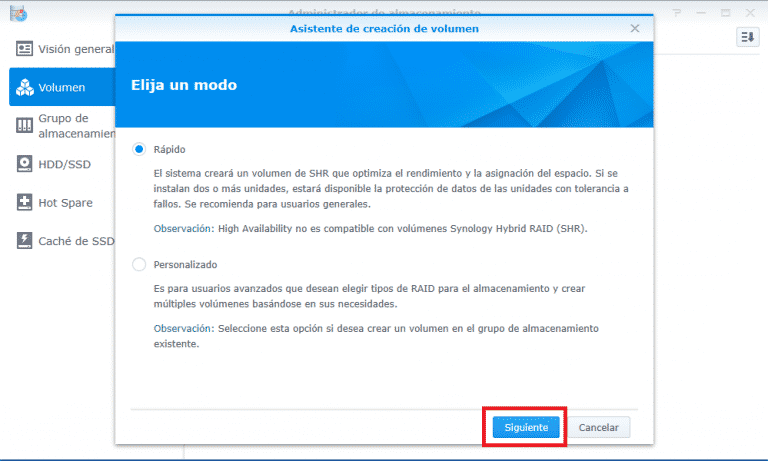
In this window we leave everything as it is and click next.
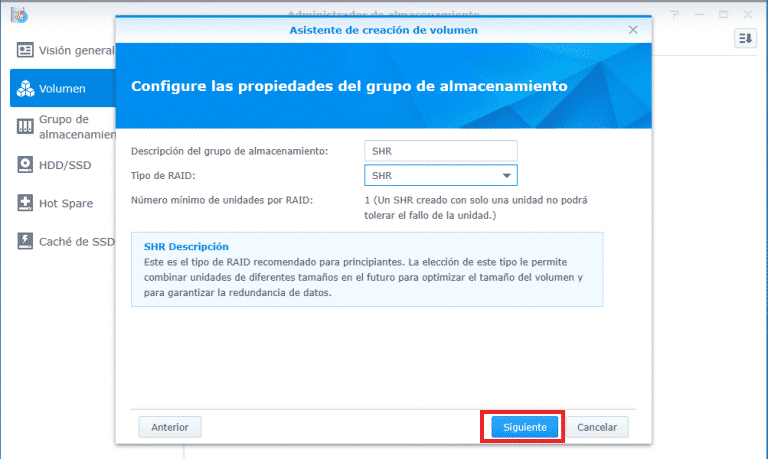
In this case, as we only have one hard disk connected, we are not going to create any kind of raid, so we leave it in SHR and click next.
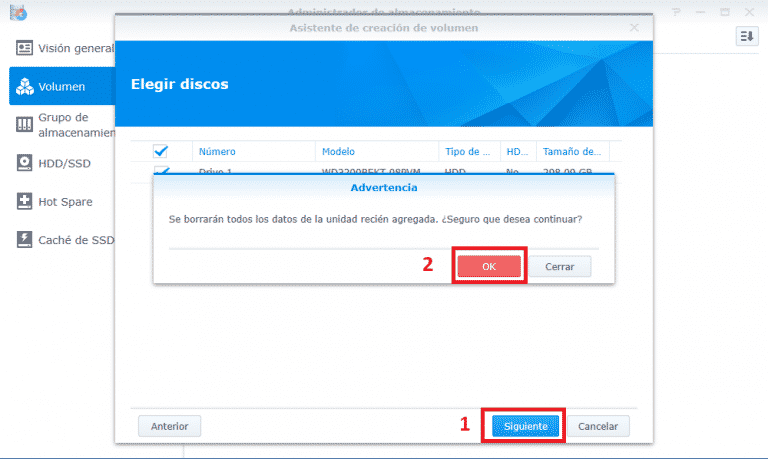
Again, as it is only one disc, click on next. It will warn us that all the data on the disk will be erased. Click on OK
The next step allows us to choose 2 types of file system, BTRFS which is synology’s own and EXT4 which is the most usual in linux. For experience I recommend the second one, because if the equipment breaks down we can connect that disk to any linux machine and extract the data in it.

We apply the changes.

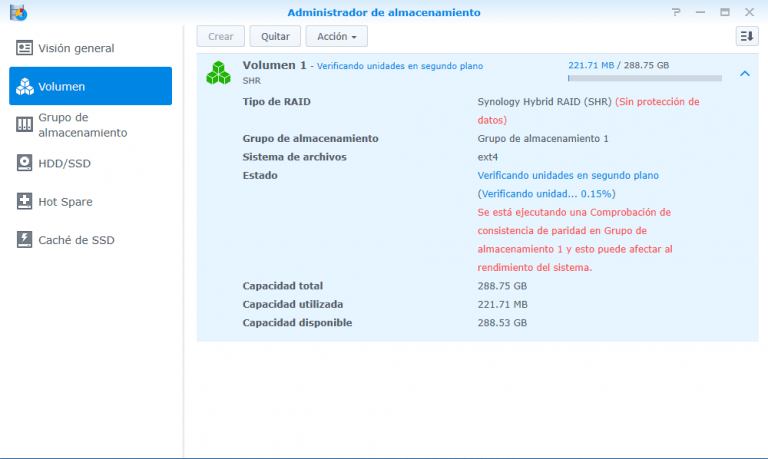
That’s it, we have our first volume created and fully prepared to create folders and install programs. The system may be slow for a while because of DSM’s disk check, but this is normal.
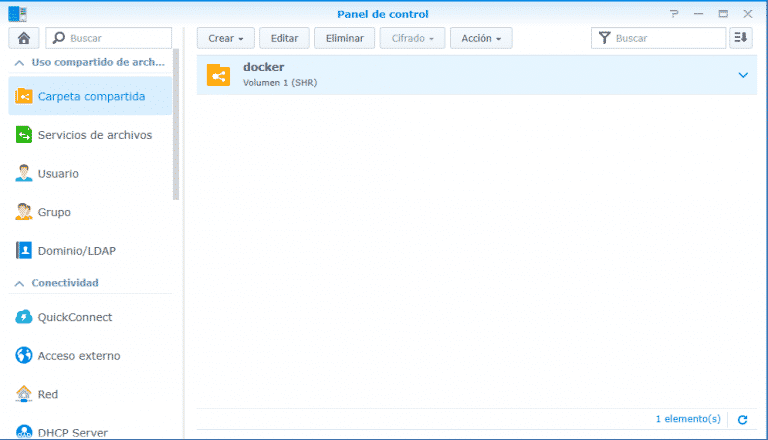
Now we are going to create our first folder, in this case it will be called docker since it is going to be the next tutorial where we will learn how to install tvheadend on docker to be able to watch tv anywhere with kodi, plex or IPTV player.
We go back to the DSM desktop, click on “control panel” and on “shared folder”.

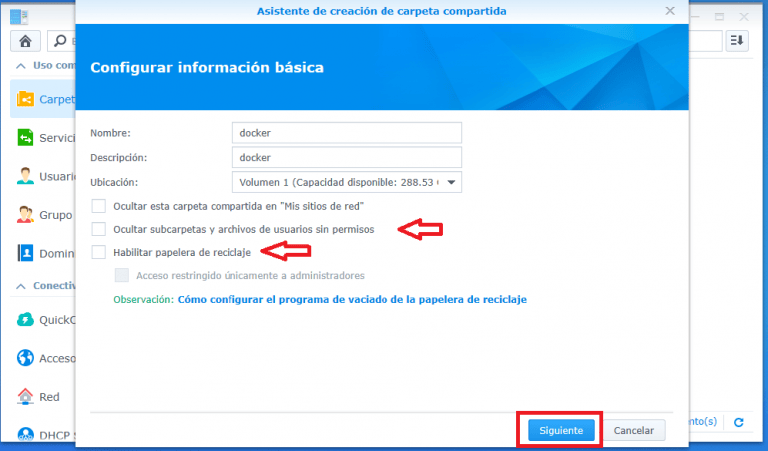
Fill in the name, the description, uncheck the trash option to avoid scares of lack of space and uncheck restrict access only to administrators. Click on next.
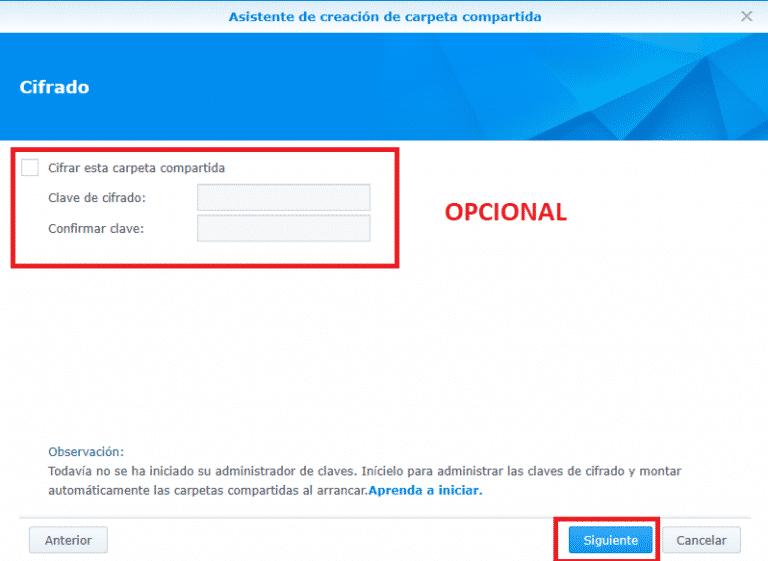
If you want to encrypt the folder, activate the option and enter the password, then click next.
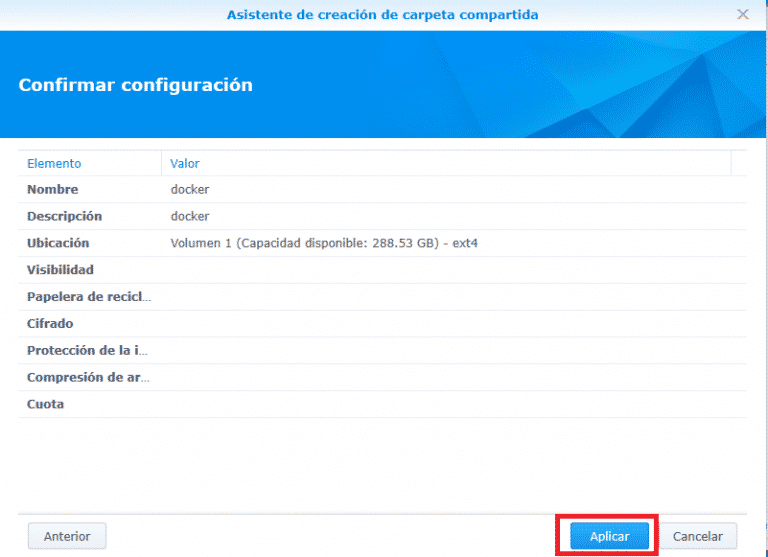
Click twice on next and then on “apply”.
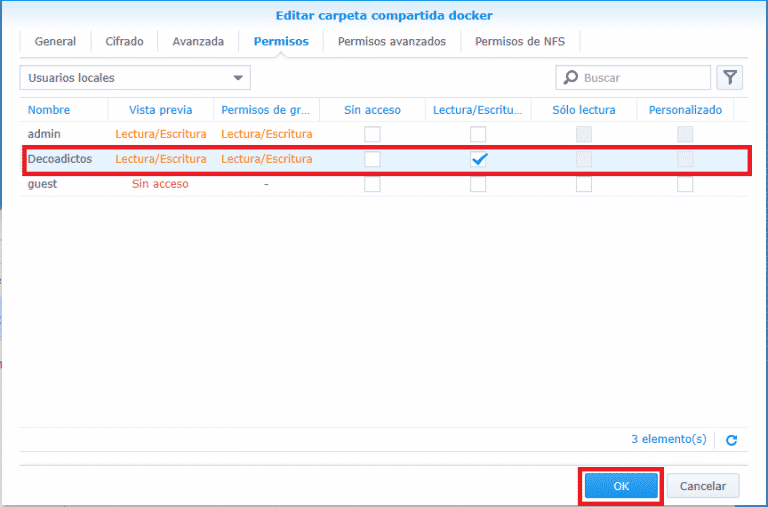
Now it is time to apply permissions. If more than one user requires access to the folder, this is also selected. Click on OK
That’s it, we now have our docker folder created. To create more folders is as simple as repeating the process.